
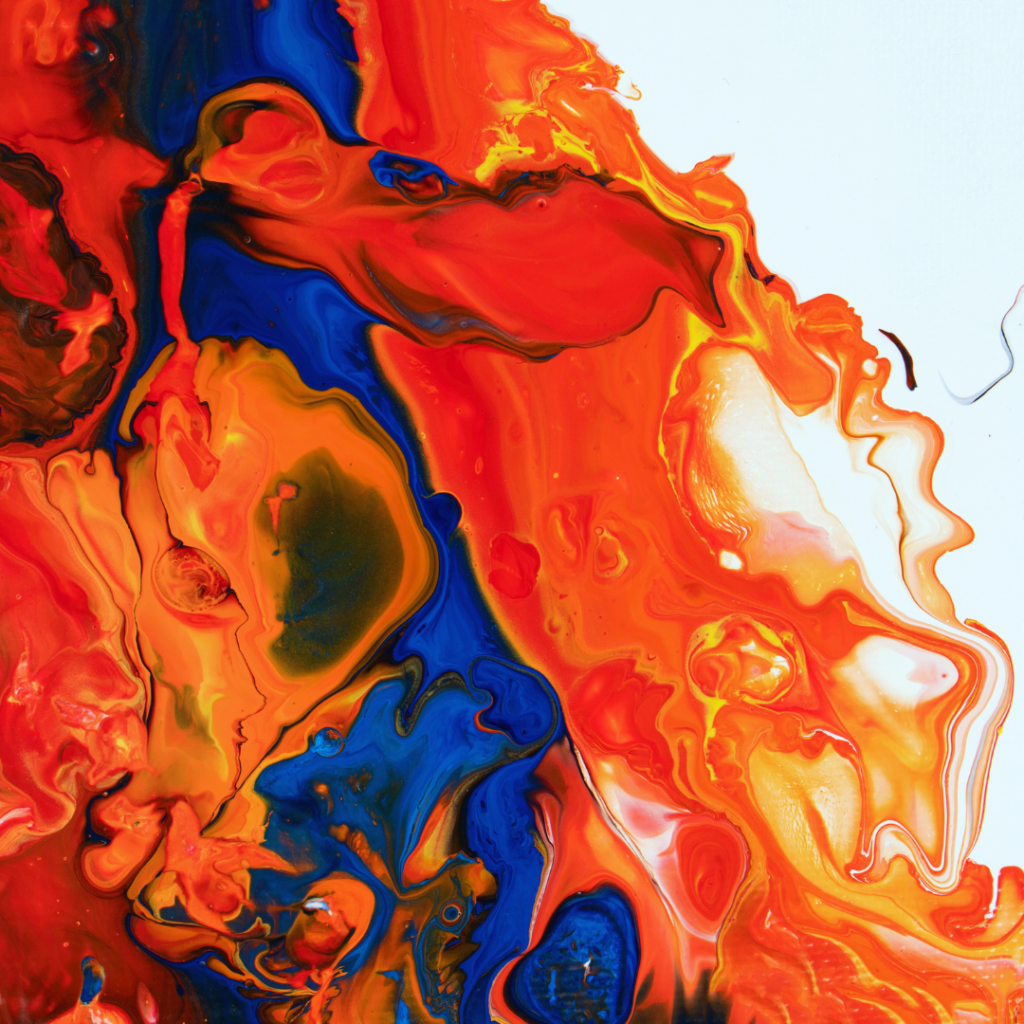
You’ll learn how simple materials and a few clear techniques let you create fluid, professional-looking acrylic pours without years of practice. Start with a manageable set of supplies and step-by-step methods, and you’ll produce striking results on your first try.
They’ll walk through preparing surfaces, mixing paint and pouring mediums, and three core pouring techniques that unlock predictable effects. This article keeps instructions practical and focused so you can move from setup to finished piece with confidence.
Essential Supplies and Preparing for Your First Acrylic Pour
This section lists the specific paints, surfaces, tools, and additives needed to start. It highlights quality choices, surface preparation, workspace setup, and practical tips for mixing and using pouring mediums.
Acrylic Paints and Paint Selection
They should choose paints made for fluid work: fluid acrylics or artist-grade acrylic paints labelled for pouring perform best. Brands like Liquitex and DecoArt offer dedicated pouring or fluid lines; Liquitex Pouring Medium pairs well with Liquitex paints for predictable flow. Avoid using only heavy body acrylics straight from the tube without thinning—these are too thick for most pours unless properly diluted.
For colour choices, pick a balance of vibrant colours and neutrals to avoid muddy mixes. Use small artist tubes to test combinations before committing to large amounts. Keep a few craft acrylics on hand for practice; they’re less costly but can behave differently than artist-grade paints.
Mix paints in single-use mixing cups. Stir each colour with a clean stirring stick until smooth and free of lumps. Label cups if mixing multiple recipes to avoid cross-contamination.
Choosing and Prepping Your Surface
They should select a rigid, sealed surface for the first pours: stretched canvas, canvas panels, or wood panels work well. Wood panels give more predictable results because they don’t flex or warp under wet paint. Canvas panels are a cost-effective, flat option for learning cells and flows.
Seal porous surfaces with a clear acrylic gesso or a thinned coat of the pouring medium to prevent excessive absorption. Tape the panel edges with painter’s tape to create clean sides and protect the back with a drop cloth or plastic sheeting. Elevate the surface on inexpensive cup risers to allow excess paint to drip off evenly.
Always work on a level table; use a small level to check before pouring. Pre-measure the panel dimensions and calculate roughly how much mixed paint will cover it to reduce waste.
Must-Have Pouring Tools and Workspace Setup
They need a few basic tools to pour safely and cleanly: mixing cups and stirring sticks, disposable gloves, silicone craft bottles or squeeze bottles for controlled pouring, and a heat source such as a butane torch or a small heat gun to pop air bubbles and help cells form. Keep a garbage bin and paper towels within reach.
Protect the workspace with a heavy drop cloth or plastic sheeting and secure corners with tape. Arrange tools on a tray so contaminated sticks and cups stay separate from clean ones. For measuring, use a digital scale or pre-marked cups for consistent paint-to-medium ratios.
Consider ventilation and wear nitrile gloves when using additives like silicone oil. A well-lit area helps spot small bubbles and colour interactions during the pour.
Understanding Pouring Mediums and Additives
They should choose a pouring medium to thin paints while preserving pigment and gloss. Commercial options include Floetrol (an inexpensive DIY-friendly base), Liquitex Pouring Medium (artist-grade stability), and DecoArt pouring medium; each yields different drying times and cell behaviours. Use the manufacturer’s recommended ratios—commonly 1:1 paint to pouring medium—then adjust per brand and pigment.
Some artists make a DIY pouring medium by mixing Floetrol with a little PVA glue, but proportions matter; testing on scrap surfaces prevents surprises. Add a few drops of silicone oil to create cells; use minimal amounts (1–3 drops per cup) and mix gently to avoid excessive bubbling.
Record each recipe—brand, ratios, and additives—in a simple notebook so they can reproduce desirable effects. Small variations in pigment, medium, or water content significantly change results, so consistent notes speed learning and improve outcomes.
Acrylic Pouring Techniques and Step-by-Step Methods
This section explains practical steps for mixing paint, executing common pour styles, making cells and effects, and finishing the panel. It focuses on precise measurements, tools, and actions to get consistent results.
Basic Paint Mixing and Consistency
Mix acrylic paint with a pouring medium at a typical ratio of 1 part paint to 2 parts pouring medium by volume; adjust to match the flow described below. Use a dedicated plastic cup and stir with a bamboo stick for 30–45 seconds to avoid bubbles. Add two drops of water at a time only if the paint feels too thick; too much water weakens film strength and increases cracking risk.
Target a honey-like, ribboning consistency where paint falls off the stir stick in a continuous ribbon that merges back into the cup within 2–3 seconds. Test each colour with a small puddle on a scrap canvas to confirm movement across the surface. For metallics and heavy-body colours, increase medium slightly (up to 1:2.5) to match the flow of softer colours.
Include a silicone oil additive (2–6 drops per 100 mL cup) to promote cells, but mix it into the cup last and avoid overmixing to preserve cell-forming pockets. Label each cup with the paint name and ratio to reproduce results later. Use a wet palette for long sessions to prevent drying.
Popular Pouring Styles for Beginners
Dirty pour: Layer multiple mixed colours in a single cup without stirring, then flip or pour directly onto the canvas. Lower the cup slowly for a flip cup or tilt and lift to release paint for more lacing and blending. Use 10–20% more medium than single-colour pours to maintain slip between layers.
Puddle pour: Pour individual colours into the centre to create concentric rings. Add less silicone for smoother rings, and use low-viscosity colours toward the centre to push outward. Control spread by angling the canvas slowly and stopping when coverage reaches the desired edges.
Swipe technique: Apply a base layer, pour bands of colour across it, then drag a plastic card or damp paper towel across the surface. Drag gently to avoid removing too much paint. Wipe the card between passes to prevent muddied streaks.
Dutch pour: Use an air source (hair dryer on low or canned air) to push paint across the panel, creating feathered streaks. Keep airflow low and even; high pressure tears cells and causes splattering.
Tree ring pour: Pour in repeated, concentric pours with slight changes in colour to build rings. Tilt minimally to preserve ring definition, then apply torching for targeted cell development.
Creating Cells and Special Effects
Cells form when layers of different densities and additives separate under movement and heat. Use silicone oil (2–6 drops per 100 mL) or a commercial cell-creating additive and reserve torching for short bursts to bring cells up; hold torch 6–12 inches away and move continuously. Over-torching burns medium and flattens cells.
Adjust paint density: increase medium in thicker paints or add a small amount of water to lighter paints to create density contrasts. Add a few drops of Floetrol or airbrush medium to improve flow and cell formation without weakening film integrity. Test each new additive in a small sample pour.
Use pinching or tapping motions and tilting to stretch and reveal cells. For controlled lacing, layer a metallic or iridescent colour over a base and use a swipe with a damp cloth; the thin metallic will split and form delicate cells. Photograph test pours and record ratios, additives, and torch time to replicate effects.
Finishing, Drying, and Sealing Your Artwork
Allow paintings to level and dry in a dust-free, flat area for 24–72 hours; thicker pours may take up to 2 weeks to hard-cure. Avoid moving panels during initial skin formation (first 12–24 hours) to prevent rippling. Keep humidity moderate (40–60%) to reduce tackiness and dust attraction.
Sand any high edges or drips with 220–320 grit sandpaper once fully dry for a smooth perimeter. Apply a brush-on varnish or pour-on polymer varnish after 7–14 days, depending on thickness; use a satin or gloss brush-on varnish for small pieces and a self-levelling pour varnish for deep, even coating. Work in thin layers (2–3 coats), allowing 24 hours between coats.
Label the back of the canvas with the date, recipe (ratios and additives), and any torching notes for future reference. Store finished pieces flat or upright with spacers to avoid sticking.