
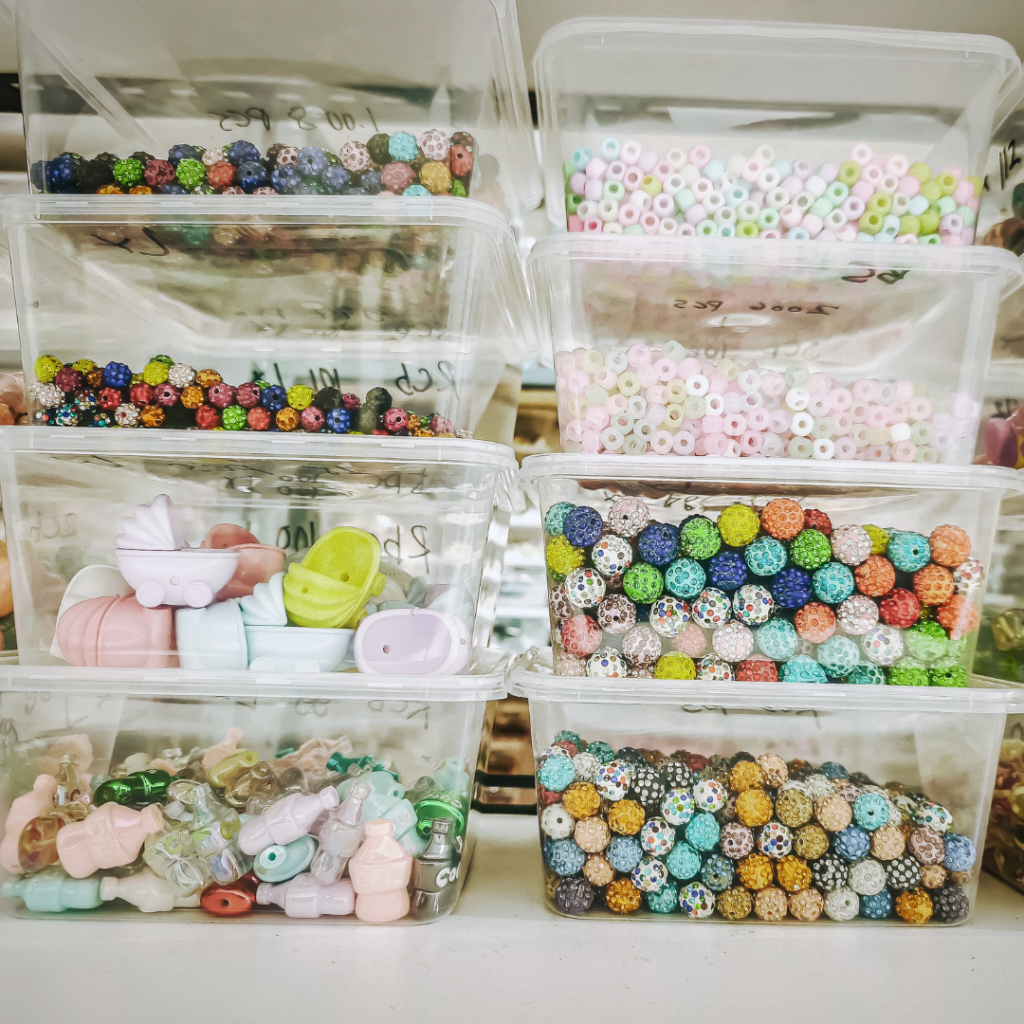
You want a functional craft room without overspending, and practical choices will get you there faster than expensive gear. Prioritise a durable work surface, targeted storage for the supplies you actually use, and versatile lighting — those three moves cut cost and chaos immediately.
They will learn simple layout tricks that make small spaces feel organised and productive, plus low-cost storage hacks that protect materials and speed up projects. The article walks through the fundamentals of a budget-friendly craft room setup and smart organisation solutions so they can start crafting more and stressing less.
Fundamentals of a Budget-Friendly Craft Room Setup
They should focus on location, efficient layouts, and a realistic budget that prioritises tools and storage. Practical choices—lighting, surface space, and multipurpose storage—deliver the most value per dollar.
Choosing the Ideal Craft Room Location
Select a spot with consistent natural light and enough wall space for vertical storage. A spare bedroom, basement corner, or a closet converted into a craft nook works well; measure the available area before buying furniture.
Prioritise proximity to electrical outlets for sewing machines, hot glue guns, and task lamps. If outlets are scarce, add a certified power strip or hire an electrician rather than relying on extension cords that create hazards.
Consider noise, ventilation, and humidity. A detached garage may need a dehumidifier; a shared living area should accept occasional mess and noise. Choose a location that matches the primary craft—paper crafts need flat, clean surfaces; painting needs ventilation and wipeable floors.
Efficient Craft Room Layouts for Small Spaces
Start with a single anchor surface: a table or desk at least 36″ wide for cutting and assembly. Use wall-mounted fold-down tables for a small craft room or craft corner to reclaim floor space when not working.
Implement vertical storage: pegboards, floating shelves, and clear wall bins keep tools visible and accessible. Use a U-shaped craft room layout only if space allows—otherwise, place the main work surface against a wall with shelving above and rolling storage beneath.
Adopt a minimalist craft room approach by keeping only frequently used tools within arm’s reach. Store seasonal or seldom-used supplies in labelled bins under the bed or on high shelves. Small craft room ideas, like magnetic strips for metal tools and tension rods for ribbon spools, save space and money.
Budget Planning and Prioritising Essentials
List essential items first: a stable work surface, an adjustable task light, a basic toolset (scissors, cutting mat, rulers), and stackable storage. Allocate about 40–50% of the initial budget to these items; buy speciality tools later as projects demand them.
Buy used furniture and repurpose items—an old dresser becomes a supply cabinet, and IKEA wall rails work for many organisers. Track spending with a simple spreadsheet or notes app to avoid impulse buys that bloat the setup cost.
Prioritise investments that improve efficiency: a good chair prevents back pain, and proper lighting reduces mistakes. For a DIY craft room, invest in modular storage that adapts to new crafts rather than single-use organisers.
Smart Organisation and Storage Solutions on a Budget
This section focuses on specific, low-cost ways to maximise space, protect materials, and keep tools accessible. It emphasises wall-mounted systems, DIY builds, flexible furniture, and habits that keep the room functional and inspiring.
Vertical Storage: Pegboards, Floating Shelves, and Wall Space
They can convert empty walls into primary storage areas. Install a standard 2×4-foot pegboard or a DIY pegboard cut from plywood; use metal pegboard hooks, baskets, and specialised pegboard organisers to hang scissors, rulers, and rotary cutters within arm’s reach. Magnetic strips mounted above a sewing station hold scissors and small metal tools.
Floating shelves installed with drywall anchors or toggles store jars of buttons, labelled plastic bins for thread spools, and stacks of folded fabric. Use deep floating shelves for baskets and shallow shelves for spools and pattern books. Mount a fabric bulletin board or a magnetic board near the workspace for pinned patterns and mood swatches.
Label shelf edges and use clear plastic bins so they can see contents at a glance. Add battery-powered LED strips under shelves to illuminate work surfaces without rewiring.
Affordable and DIY Storage Ideas
They should repurpose items and build simple solutions. Convert an old bookshelf into modular craft storage by adding removable fabric storage bins and drawer dividers for beads and notions. Create a DIY pegboard from painted MDF for a cleaner look; cut to size, seal edges, and hang with French cleats for strong mounting.
Use hanging baskets on pegboard or wall hooks to store yarn and bulky fabric rolls. Repurpose a spice-rack-style wooden unit for thread spools and small jars. Clear shoe boxes or photo-storage boxes work as affordable, stackable fabric storage; label fronts with washi tape.
For small tools and needles, use magnetised tins mounted to the wall. Build a simple fold-down table from plywood and piano hinges for an instant cutting or sewing surface that stows flat against the wall.
Flexible Furnishings: Mobile and Multi-Use Pieces
They make the room adapt to project needs. Choose a rolling cart with multiple tiers as a mobile craft cart for current projects, thread, and a cutting mat. Look for thrifted end tables that convert to a sewing station by adding a cushion and a foot pedal tray.
Storage ottomans provide hidden bulk fabric storage and extra seating. Opt for modular storage cubes that accept fabric bins; rearrange cubes into an L-shape work island or stack vertically as needs change. A fold-down desk mounted at hip height becomes a space-saving fold-down table for pattern tracing.
Add casters to heavy cabinets to allow movement. Use clear, labelled drawers for small notions and drawer dividers to prevent mixing. Prioritise pieces that lock or latch when mobile to avoid spills.
Maintaining Organisation and Inspiration
They need routines and visible cues to stay organised. Implement a “one-project” mobile cart rule: keep only current projects on the rolling cart to reduce clutter. Label every bin and drawer with contents and a category — e.g., “quilting fabric — cotton,” “embellishments — beads.”
Schedule a five-minute nightly tidy: return scissors to pegboard hooks, slide jars back on floating shelves, and fold leftover fabric into labelled bins. Rotate inspiration on a fabric bulletin board or magnetic board monthly to keep ideas fresh without accumulating paper.
Keep essential tools at fixed stations (sewing machine, cutting mat) and store seasonal or rarely used items on higher shelves. Small investments like battery-powered LED strips and clear organisers save time and reduce wasted purchases.